Indoor herb gardening is growing in popularity by the day. Space-stretched city-dwellers, foodies, and even people with big gardens are filling their kitchen windowsills with potted herbs.
There are so many benefits and almost no drawbacks. It’s cheaper, tastier and also possible to grow unusual and forgotten plants…yarrow or lovage, anyone?
In this little guide, and with the help of my infographic below, I want to cover the main steps involved in growing a scrumptious indoor herb garden.

Share this Image On Your Site
Why sustainably and veganically?
I’ve been a vegan for the last five years and I avoid animal products in my garden whenever I can. “Veganic” herb growing is simple enough: avoid animal-based feeds and soil additives. No fish, blood and bone fertiliser and no manure, for example. The status of worm bins occupy a bit of a grey area and are a matter of personal preference.
It’s when you start to think about sustainability that things get a little trickier. Whilst it is possible to use completely sustainable potting media and feeds – homemade compost, coir, composted bark, seaweed etc. – buying them can be a hassle. Similarly, there is an ongoing debate about their status. Coir, for instance, which is a waste product derived from coconut hulls, is manufactured using large amounts of water and needs to be transported over long distances, thus leaving a carbon footprint.

I find that steering away from products where there is a serious risk of depletion is the best approach to take. This means growing without additions like peat (again, I recognise contentions around this issue), animal fertilisers and herbicides whilst allowing for the use of non-renewable materials like vermiculite and perlite, of which less than 1% of reserves have been mined over the last sixty years.
In terms of feeding, I adopt a similar attitude. Whilst I understand that inorganic fertilisers (think Gro-More) are made using non-renewable resources, they do come in handy for giving plants that little extra boost. Small use of fertiliser, along with homemade compost and vermicompost (worm poop), is the route I tend to take.
I’m by no means an expert but that’s just my personal approach. I’m always open to debate on the topic so please leave a comment below if you have an opinion!
Step one: pick your herbs
Start by deciding which plants you want to grow.
I know this is an obvious piece of advice but I want to add one caveat: get creative! There’s nothing wrong with the old favourites – rosemary, thyme, basil – but pick a few unusual plants too. What about yarrow, lovage, wild rocket or chamomile? Think about edible flowers too.
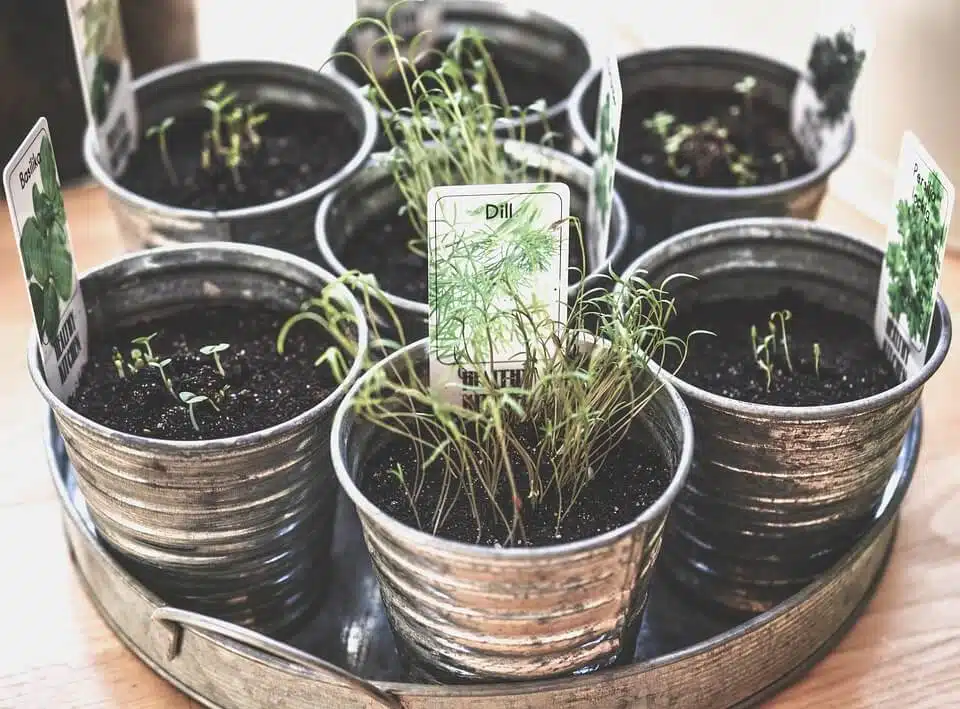
Another piece of advice: pick some perennials! Low-maintenance is the watchword here. Perennials won’t need to be regrown from seed every year. As long as they’re fed and watered they’ll be happy. A little bit of feed every year, along with a repotting every couple of years, will be enough to ensure your plants’ health.
Step two: mix your potting soil
Your potting mix will provide your herbs with three essentials:
- Air – In nature, soil contains two types of tiny air pockets: micropores and macropores. Micropores hold water and macropores are full of air. Roots need air just as much as we do!
- Water – All plants need water and this is held in little micropores. A force called capillary action (which is stronger than gravity) stops the water from draining away.
- Nutrients – Nutrients dissolve in water and are then taken up by roots. Nutrients can’t “get into” a plant in any other way.

We can provide all three of these things by incorporating 1/3 each of the following:
- Perlite or composted bark – A coarse material will create macropores in your potting mix, thus providing roots with air.
- Coir – Coir holds onto water. You don’t want to overdo it – the result would be a mix that holds water really well but that has no air in it! Stick to 1/3.
- Compost and/or slow release fertiliser – Compost (preferably homemade) will provide nutrients. If you don’t have any compost you can use a 50/50 mix of the two ingredients above, but you will need to add fertiliser. More on that in a moment (step four).
Alternatively, or if you don’t have any compost to hand, you could just buy some peat-free potting soil from the garden centre.
Step three: watch out for pests
Well-fed and well-watered plants are usually good at dealing with pests on their own. If problems do arise, a natural, homemade insecticide will do the job.

One of the most beneficial things you can do for indoor plants is to provide some sort of airflow. Doing so will mimic outdoor conditions. Insects like it when it’s windless so buy a fan or open a window.
Some common pests to look out for include:
- Powdery mildew – A fungus identifiable by small patches of white mould or “fluff”
- Aphids – Small, black or semi-transparent insects (see the infographic).
- Mealybugs – Scale-like wingless insects often found indoors.
- Whitefly – White-winged insects that feed on the underside of leaves.
Herbs are by and large trouble-free when it comes to pests so you don’t need to be too worried. Just keep an eye out!
Step four: feed
The compost you provide for your plants (or which is included in your store-bought potting mix) will usually provide nutrients for around six weeks. After this time, you will need to top up with some liquid fertiliser.
If you have mixed in some slow-release granules into your potting soil then liquid feeding is unnecessary.
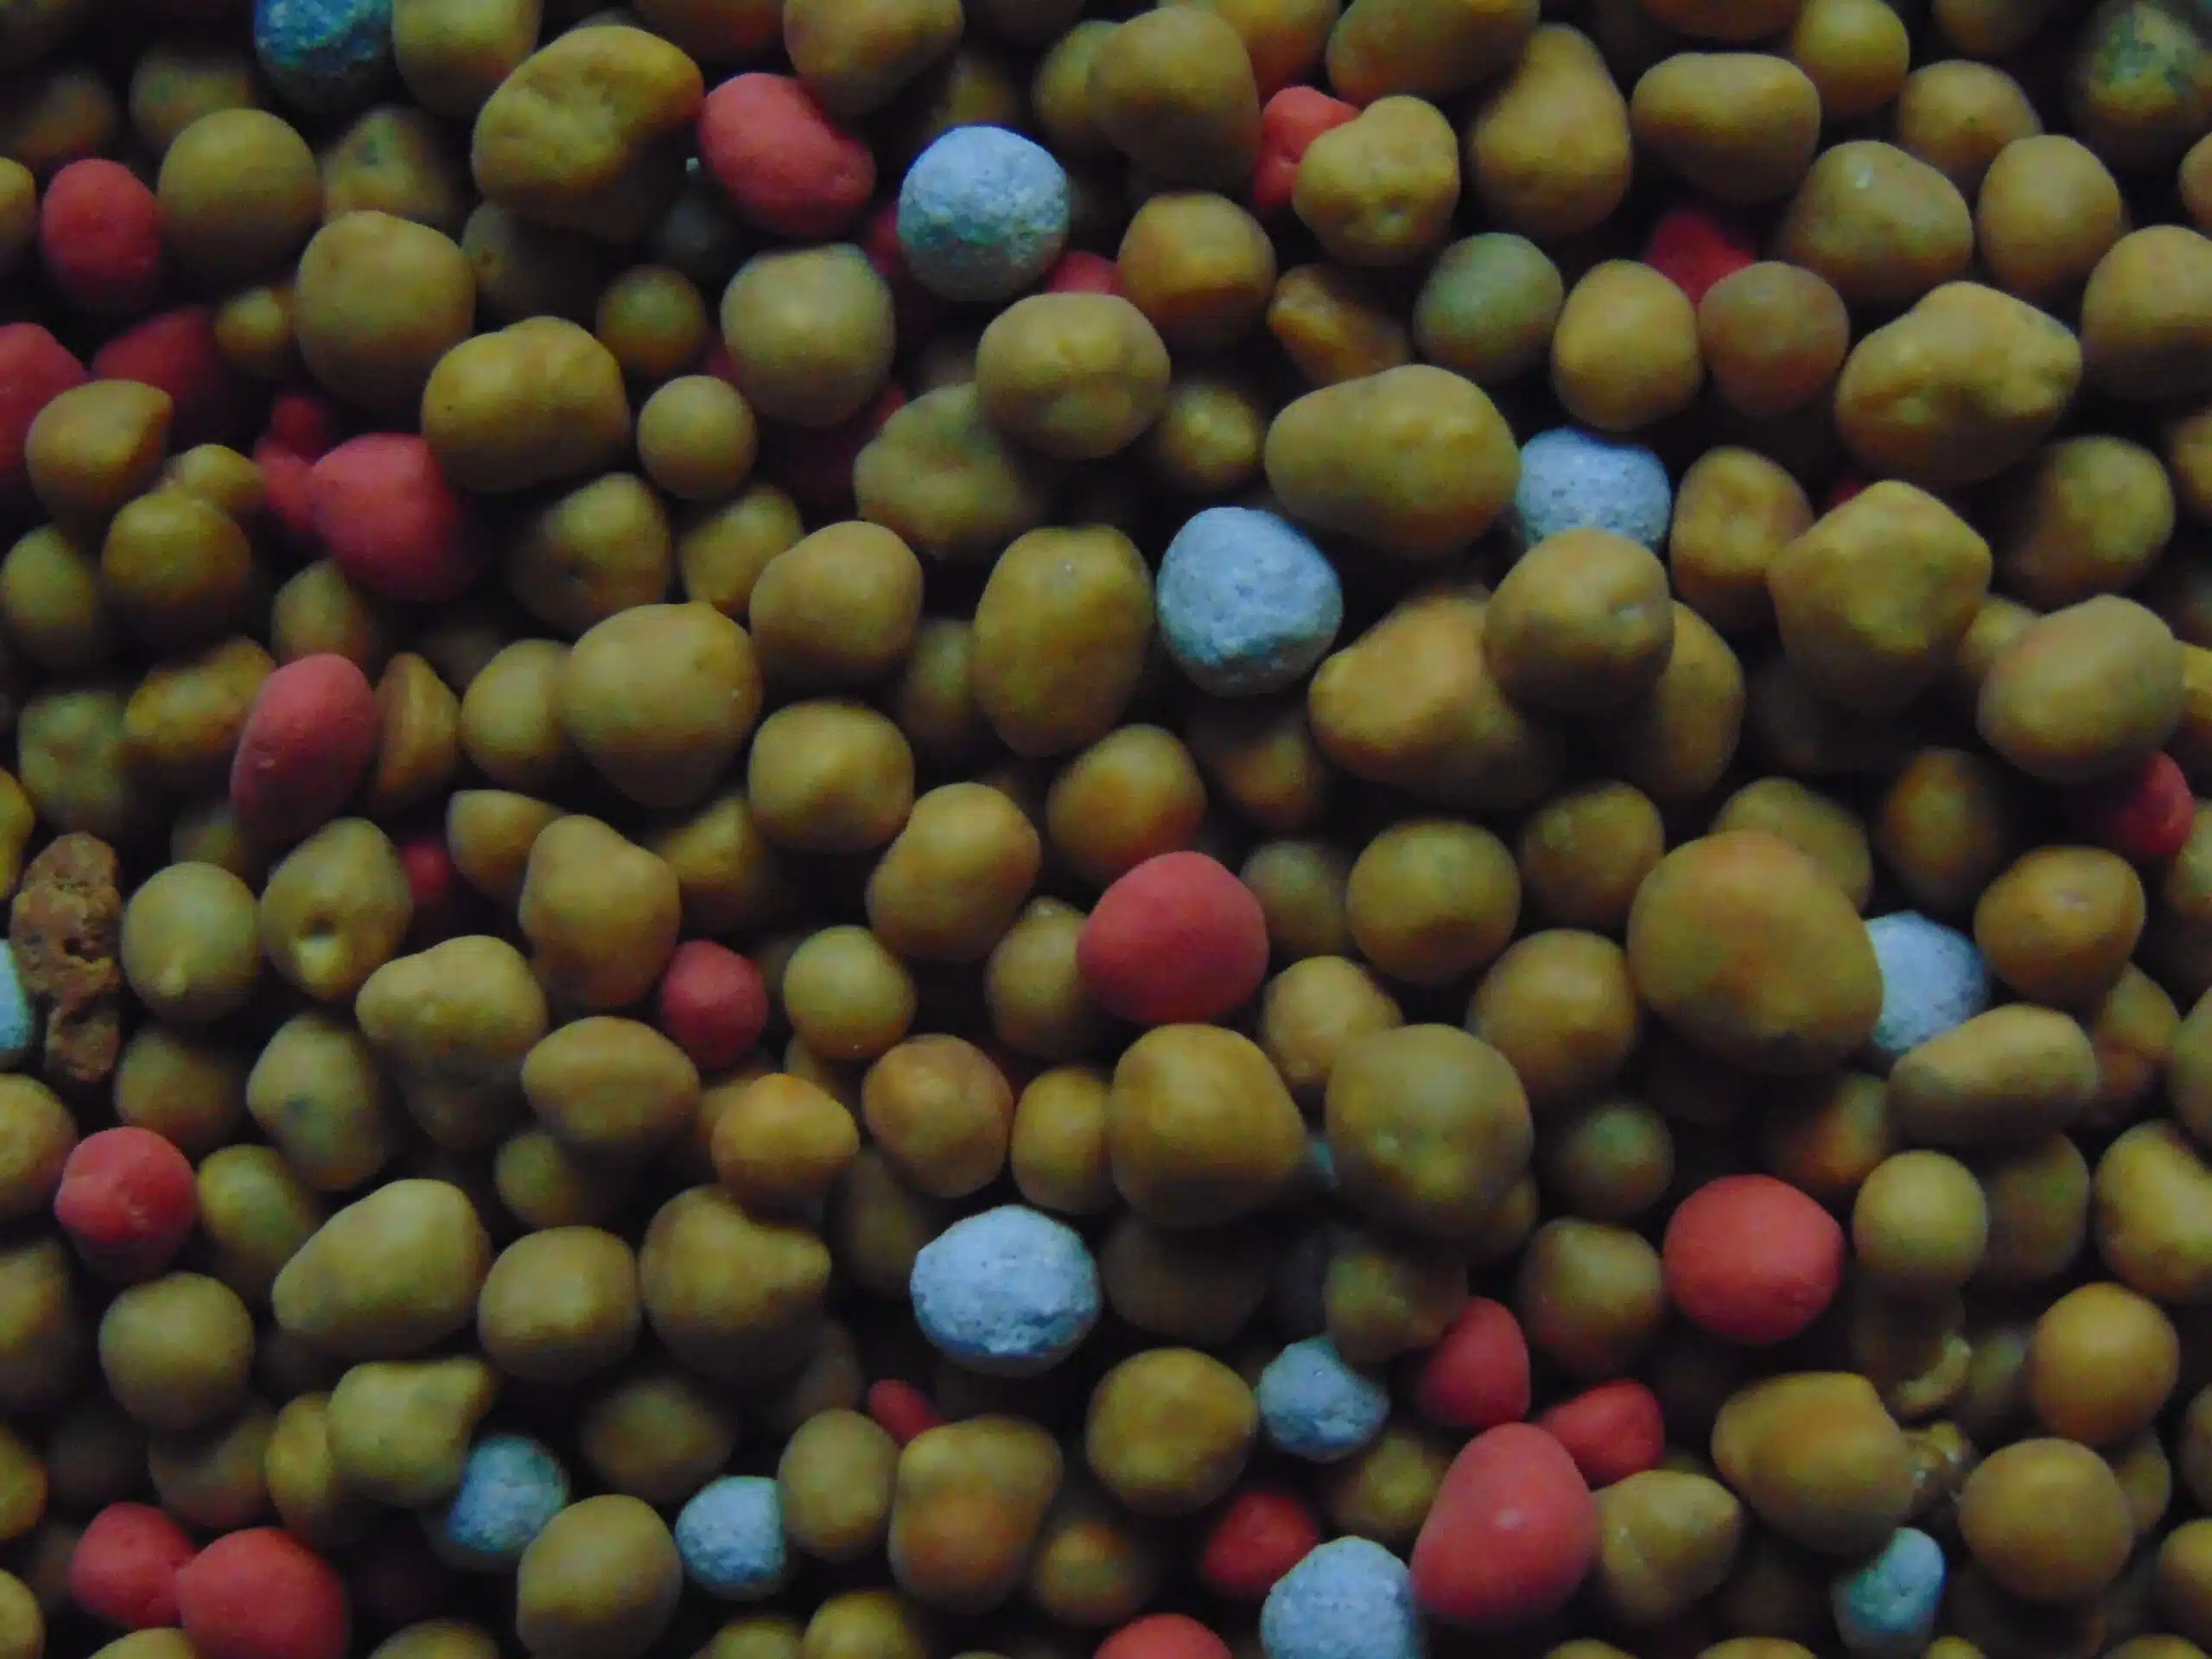
You want two kinds of feed: a balanced N-P-K feed – nitrogen (N), phosphorous (P) and potassium (K) are the three main nutrients a plant needs – and a micronutrient feed like kelp or seaweed. Err on the side of less rather than more. Potted herbs aren’t as hungry as other plants, so feed at half dilution or over twice the recommended period (if it advises weekly then feed every two weeks).
Poor feeding (or not feeding at all) is one of the most common reasons that plants die. There’s a great comparison of fully organic fertilisers here.
Step five: harvest
Most gardeners will know the 1/3 rule. When harvesting the foliage of a perennial plant, the general principle is not to take more than a third and to let it replenish itself before taking more. If you cut leaves little and often, then you can have a continuous supply.
Annuals (which will die after one season) are a slightly different kettle of fish (it’s late in the evening and my “appropriate gardening metaphor muse” has gone to the pub). Herbs like coriander are aragula, for example, are best harvested in one go when they get to a decent size.

Don’t worry too much about harvesting “properly”. As long as your sensible, most plants will recover.
What are your thoughts? Leave a comment below!
What are your thoughts? Let me know how your own herb growing efforts are going in the comments section below.
Pingback: Grow an indoor herb garden: easily, sustainably and veganically – gardening.newspaperperiod.com
Pingback: Indoor Herb Gardening: Easily, Sustainably and Veganically